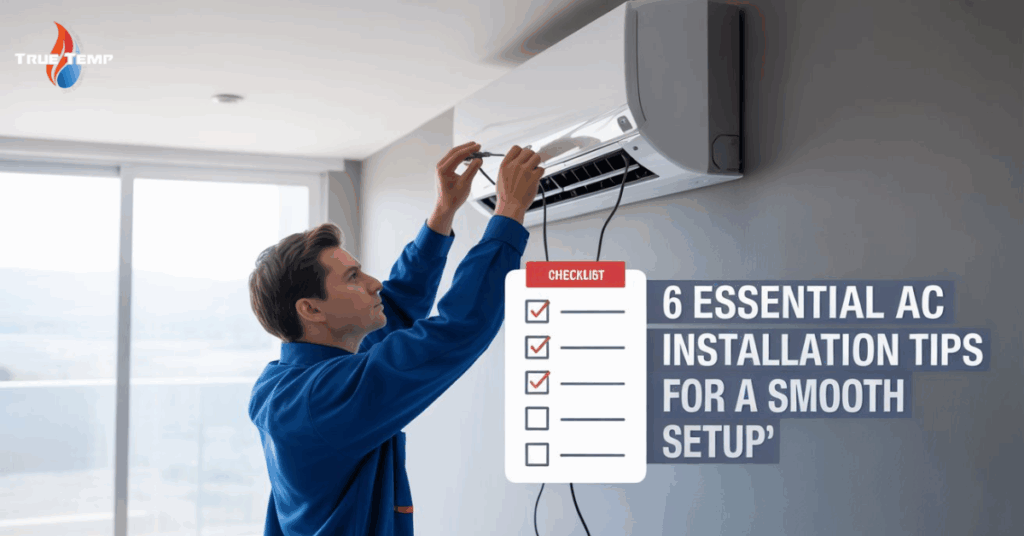
Getting a new AC installed the right way is about more than just feeling cool. Good setup improves efficiency, helps the unit last longer, and can even trim monthly energy bills. Whether youre swapping out an old system or putting in one for the first time, a careful approach today stops headaches tomorrow. Siting the unit correctly, wiring it cleanly, and a few other small touches can make a huge difference down the road.
This blog lays out six basic steps that every installer-cheap, DIY-er, or pro-should know. Follow them and youll set the stage for a quiet, trouble-free setup, no matter whos holding the tools.
1. Choose the Right Location for Your AC Unit
Picking the best spot for indoor and outdoor units is the tip so many people miss, yet it matters more than almost anything else. For the indoor unit, hang it on a sturdy wall that does not flex, mount it around seven to eight feet up so air moves freely, and steer clear of sunny windows or heaters that push the room temperature up.
For the outdoor unit, find a shady corner with plenty of breeze, lift it off the ground to stop dirt splatter during storms, and position it away from clouds of dust or standing water that might sneak inside the coils.
Every guide on installing an indoor air conditioner starts by choosing the right place to put it. The right location lets cool air spread evenly, stops the compressor from working too hard, and can even help the unit last longer.
2. Use Sturdy Mounting Parts
Strong brackets and vibration-proof mounts are a must when hanging the indoor unit on the wall. The wall plate has to sit perfectly level; even a tiny tilt can drip water or clog the drain inside.
Outside, setting the condenser on a solid concrete pad or soft anti-vibration legs keeps it stable while running. That choice protects the coils and cuts down the noise your neighbors hear. Many split AC guides repeat this tip because ignoring it leads to expensive headaches later.
3. Keep Enough Space Between Units
Still, new DIY posters often slip up by crowding the indoor and outdoor units too closely. As a rule of thumb, never let the gap stretch more than 15 meters, and the shorter, the better. The less pipe and cables there are, the easier it is for refrigerant to move, which boosts cooling and trims power bills.
4. Double-Check Insulation and Refrigerant Charge
When your new air conditioner gets put in, one of the biggest tasks is getting the refrigerant charge just right. If there is too much or too little refrigerant, the compressor can get hurt and the whole system runs poorly. At the same time, every copper line between the inside and outside units must be wrapped in good insulation.
Homeowners following a split AC installation guide should pay special attention here. Proper insulation keeps cold air inside and shields the pipes from sun, rain, or stray critters.
If you still feel warm air days after set-up, call a trained AC repair team. They can quickly check refrigerant levels and rewrap any exposed lines.
5. Secure Wiring and Simple Drain Angle
Next, hook the unit to its own electrical outlet that matches factory voltage. Weak or cracked wires can start a short, damage the unit, and even trip your breaker panel. While a technician usually handles this, you should also double-check that:
- The drain tube slants gently so water runs out without pooling.
- The pipe is fastened tightly, preventing annoying drips or messy backflow.
With these details sorted, your new AC system will chill your home quietly and safely for years.
These simple AC installation tips show up in almost every guide yet are too easy to skip. Safe wiring and steady drainage matter if you want your system to last.
Pro Tip: If working with wires feels risky, call in a pro when you put in the AC. A trained hand keeps you and your home safe.
6. Test Before Finalizing the Setup
Before you put away all your tools, run a full test of the system.
- Is the air coming out cold?
- Are there any strange noises or vibrations?
- Is the remote functioning properly?
- Is the indoor unit draining properly?
Testing ensures that all your efforts or your technician’s work have been successful. This last check makes sure your air conditioner was installed right and lets you fix little problems now instead of waiting for the first big heat wave. Something often caught early with regular AC Maintenance Services.
Bonus: Don’t Skip Post-Installation Maintenance
Putting in the new unit is only half the battle. Regular upkeep keeps the AC working smoothly month after month. After the check, think about signing up for ongoing AC maintenance so a pro can:
- Clean filters and vents
- Check refrigerant levels
- Lubricate fan motors
- Inspect thermostat accuracy
Sticking to this routine makes the system last longer, keeps the air crisp, and spots problems early-will save you money later.
Final Thoughts
These six AC installation tips aren’t just technical instructions; they’re your roadmap to better comfort, lower bills, and a healthier AC system. Whether you’re following a split AC installation guide, reading through an indoor AC installation guide, or going for a full do it yourself AC installation, every step matters.
If you’re unsure at any point, it’s better to invest in professional AC installation services and follow up with reliable AC Maintenance Services for long-term peace of mind.
Need help with installation, repair, or regular maintenance?
Explore our trusted AC Repair Services and get your cooling system back in shape today.

